Halloween is fast approaching, and we’re excited to share with you a fantastic DIY Pumpkin Paper Cutting Tutorial! Here are the step-by-step instructions to help you create your own spooky pumpkin masterpiece.
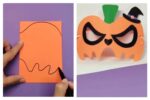
To get started, you’ll need a square piece of paper. Begin by folding it along the diagonal three times to create a smaller square. Next, unleash your creativity and draw a ghoulish pumpkin design on the folded paper. Once you’re satisfied with your pumpkin sketch, carefully cut out the intricate details within the design, ensuring to preserve the outer edges.
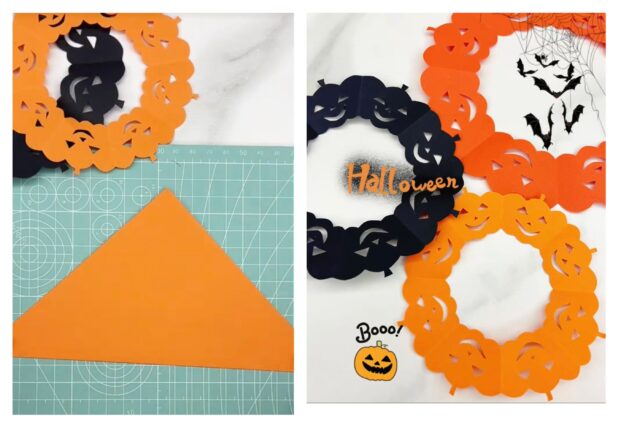
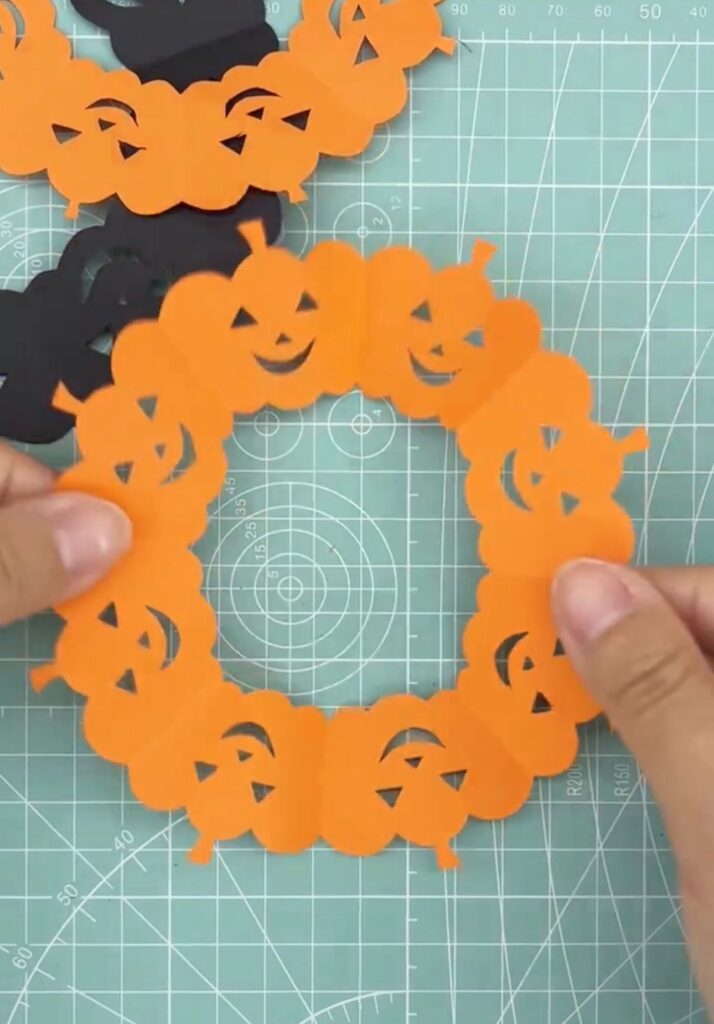
When you’re done with the meticulous cutting, it’s time for the grand reveal. Carefully unfold the paper, and voila! You’ve just crafted your very own Halloween paper pumpkin masterpiece. It’s a remarkably simple and easy craft, making it perfect for a fun bonding activity with your children. We hope you find this DIY project enjoyable and that it adds a touch of Halloween magic to your home decor.
We genuinely hope you enjoy creating this Halloween pumpkin masterpiece as much as we did. If you’d like to see more engaging DIY projects and stay updated with our latest content, please consider liking our Facebook page. We’re excited to share more creative ideas and inspiration with you. Happy Halloween crafting!